


So, you bought your first AR-15 and shot it for the first time. Now that you’ve shot through a few boxes of bullets, it’s time to take your new gun home. What happens next? You’ll have to clean your AR 15, but you must learn how to do that. You might have successfully pulled the pins and removed the upper and lower receivers. What should you do next?
Cleaning and maintaining the rifle might look like a challenging job. However, you can easily clean and maintain your rifle with the right tips and top AR cleaning tools like bore snakes and brushes. Keep reading this guide to clean and maintain your AR 15.
1. Gather all necessary equipment
When cleaning an AR-15, it is essential to use the proper top AR cleaning tools to avoid damage to its components. Although numerous household items can be utilized, buying an AR-15 rifle cleaning kit is recommended. You may adequately clean your firearm with a cleaning rod, a nylon brush, some bore brushes of the correct size, and cleaning patches.
2. Get your work area ready
Preparing your work area before cleaning any rifle will help you stay organized and prevent you from losing little pieces of the AR-15. You can place a pistol cleaning pad on the table to assist with subsequent cleanup.
3. Separate the upper and the lower receiver
After assuring that the firearm is locked and will not fire accidentally, you must separate the upper and lower receivers properly. Push the pinhole and separate the parts.
Now that the lower and upper receivers have been separated, remove the charging handle and the bolt carrier group. Remove the dirt and grime off the charging handle and the bolt carrier group by wiping them with a soft cloth.
4. Disassemble the bolt carrier group
To disassemble the bolt carrier group:
- Press the bolt to the rear and remove the firing pin.
- After removing the firing pin, spin the cam pin by ninety degrees and then remove it.
- If the bolt does not move, be calm and try again.
This is a common issue that most beginners face. You can see instructional videos on properly removing your bolt carrier group.
5. Removal of the buffer and buffer spring from the bolt carrier group
You can use a punch when extracting the buffer and spring from the buffer tube. Remember that the retention pin on the buffer tube is under stress; therefore, handle the buffer spring with care.
Clean the receiver and the magazine with a rag or a patch, as they may have accumulated dirt and carbon, and inspect the trigger mechanism while you do so. Ensure that the spring, keepers, firing pin, bolt cam pin, and rear takedown pin are clean, and then put them back in the same position.
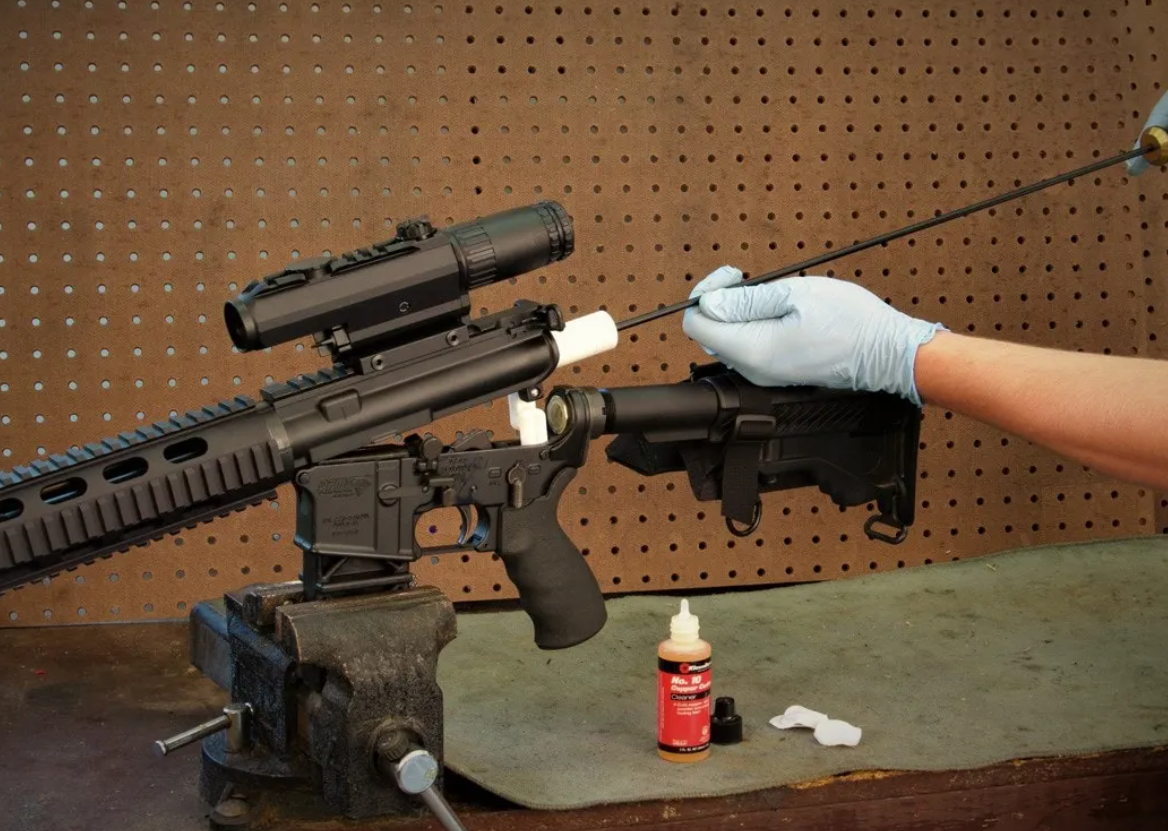
6. Lubricate and reassemble the rifle
After checking that the rifle’s parts are undamaged, it is time to oil them before you start the reassembly. After cleaning, the AR-15 must be lubricated from the charging handle to the bolt carrier group to prevent rust formation. A few drops of lubricant and a lightly oiled rag will be enough; nevertheless, you must remember that excessive lubrication will damage your rifle.
Conclusion
The longevity of the rifle is enhanced by proper maintenance. As a responsible gun owner, you must follow the measures mentioned above to avoid unfortunate situations. Some fatalities reported in daily gun news can be distressing, but cleaning an AR rifle is risk-free if you observe these safety guidelines.


